A Guide to Video Sound Delete for Any Device

Need to video sound delete? Our guide shows you how to remove audio from videos on desktop, mobile, and online for clean, professional results.
Stripping the audio from a video is a surprisingly common task in editing.Stripping the audio from a video is a surprisingly common task in editing. It's often the first step in turning rough footage into something more polished, whether that’s to get rid of distracting background noise, protect someone's privacy, or simply clear the way for a brand-new soundtrack.
Why and When to Remove Sound from Video
Knowing the "how" is easy, but understanding the "why" is what really elevates your editing game. Making the decision to delete video sound isn't just about cutting something out; it’s a strategic move to create cleaner, more effective, and sometimes safer content. The reasons usually boil down to one of three things: cleaning up the quality, protecting privacy, or making room for something more creative.
Think about it. You might have a visually stunning shot that’s completely unusable because of wind howling into the mic, a passing car, or a conversation happening just off-camera. Ditching that messy audio is the only way to salvage the clip. From there, you can layer in some appropriate background music or a crisp voice-over to create the mood you were actually going for.
This infographic lays out the decision process pretty clearly, helping you figure out what to do next based on your main goal.
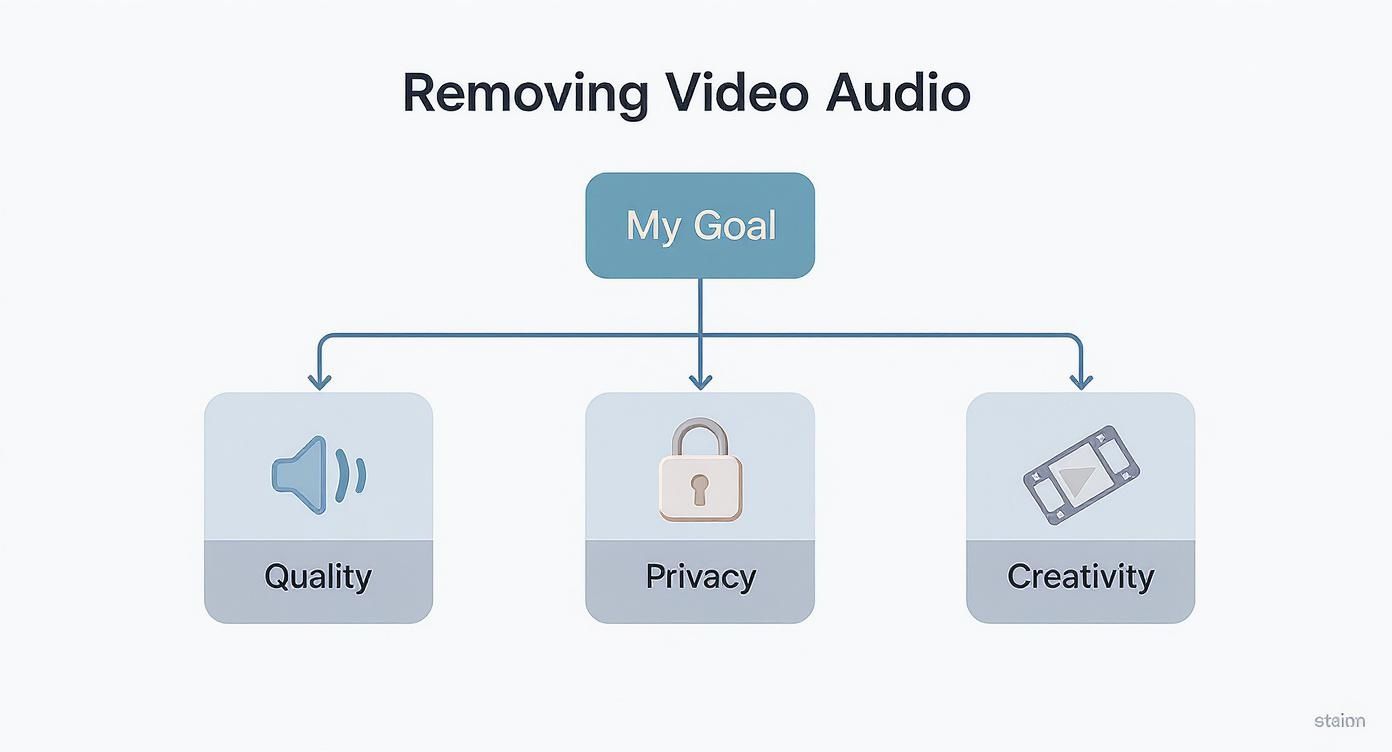
As you can see, whether you're trying to fix bad audio, keep things confidential, or just get creative, that initial choice sets the direction for the rest of your edit.
Common Scenarios for Removing Audio from Video
Privacy is a huge one. Let's say you're filming at a public event and your mic picks up a sensitive private conversation happening nearby. Before you even think about sharing that footage, removing the entire audio track is an absolute must. The same goes for copyrighted music—if you've accidentally captured a song playing in the background, you'll need to strip it out to avoid getting a copyright strike on YouTube or Instagram.
Here’s a quick breakdown of the most common situations where you’d want to remove the audio.
Common Scenarios for Removing Audio from Video
| Scenario | Reason for Sound Deletion | Best Outcome |
|---|---|---|
| Noisy Environment | Wind, traffic, or crowd noise ruins the shot. | A clean video ready for a new soundtrack or voice-over. |
| Privacy Concerns | Capturing private conversations or sensitive information. | The video can be shared publicly without compromising anyone’s privacy. |
| Copyright Infringement | A copyrighted song is playing in the background. | Avoids copyright strikes and legal issues on social media platforms. |
| Creative Overhaul | The original sound doesn't fit the desired mood. | The video becomes a blank slate for a custom sound design. |
| B-Roll Footage | The clip is purely for visual context, and audio is irrelevant. | A silent clip that can be seamlessly edited into a larger project. |
Ultimately, each of these scenarios is about taking control of the final product.
A silent video clip is a blank canvas. By removing the original audio, you gain complete creative control to tell a new story with a carefully chosen soundtrack, sound effects, or narration.
This is especially true when working with user-generated content (UGC). We've seen stats showing that 60% of UK consumers find UGC to be the most authentic form of advertising, but that content rarely comes perfectly polished. Stripping out inconsistent or poor-quality audio is a standard step in making that authentic footage fit into a professional campaign. You can get more insights into the power of video marketing to understand why this is such a critical step.
For more deep dives into editing techniques and strategies, feel free to explore the other guides over on the SoReel blog.
Removing Audio on Your Desktop
When a project calls for a bit more finesse, I always turn to my desktop. Mobile apps are great for a quick fix, but for a proper video sound delete, nothing beats the precision of a larger screen, a mouse, and a keyboard. It just makes everything easier, especially if you’re trying to make exact cuts or juggle multiple clips.
The best part? You probably don't need to spend a penny. Powerful, free tools are likely already installed on your computer. If you're on a Windows machine, the built-in Photos Legacy app is surprisingly handy for this. For Mac users, the answer is iMovie, which comes standard on every device. Both are fantastic for stripping out audio without getting bogged down in complex features.
A Look at iMovie for Mac Users
For anyone with a Mac, iMovie is the most straightforward route. Its visual timeline gives you a clear picture of what you're working with, which is a massive help. Before I delete any sound, I always make a point of separating it from the video track first.
This little trick is a game-changer. When you detach the audio, it pops up as its own layer on the timeline, usually with a visible waveform. This gives you a chance to double-check that you’re about to remove the correct audio before you actually commit.
Here’s how to get it done in iMovie:
- First, drag your video clip into a new project.
- Next, right-click on the clip sitting in your timeline.
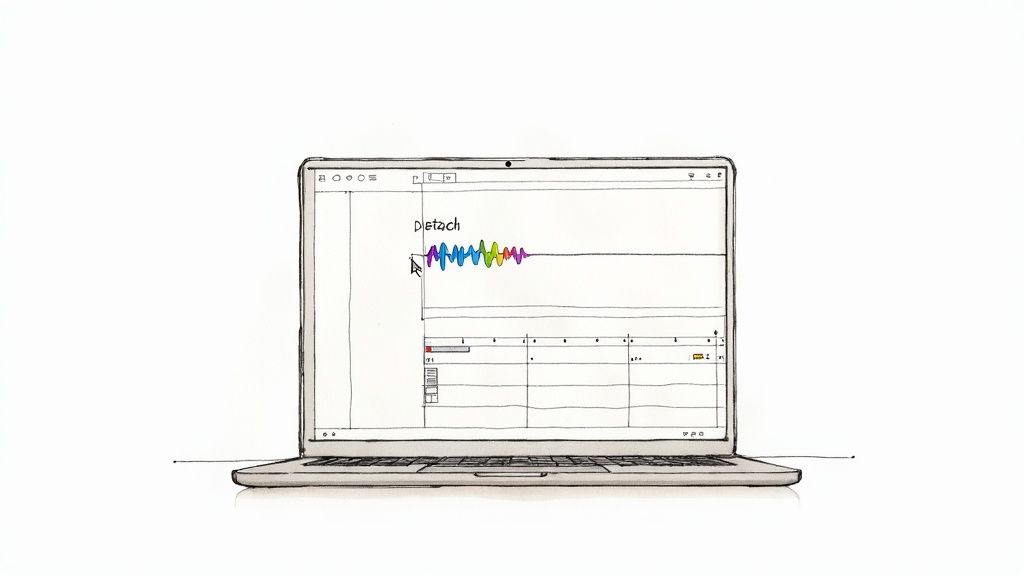
- From the menu that appears, just choose "Detach Audio".
You'll immediately see a green or blue audio track appear right below your video. Now, all you have to do is click on that audio track to select it and hit the delete key. Just like that, your video is completely silent, ready for you to add a new soundtrack or export it as is.
This screenshot from iMovie shows exactly what I mean—the video clip is on top, and its audio track is neatly separated underneath.
Seeing the audio and video as distinct elements is the essence of non-destructive editing. It gives you the freedom to manipulate individual parts of your project with total control.
Using Photos Legacy on Windows
If you’re a Windows user, you can get the same job done with the Photos Legacy app. It comes with a basic but perfectly functional video editor. It might not have all the bells and whistles of iMovie, but for a quick video sound delete, it's got everything you need.
The process here is a bit different. You’ll open your video in the editor and simply mute the audio track. You can’t detach the audio in the same visual way as you can with iMovie, but you can easily slide the volume down to zero, which effectively silences the clip before you save and export it.
Pro Tip: Once you're comfortable with the basics and feel ready to step up your game, I'd recommend checking out a free professional tool like DaVinci Resolve. It offers industry-standard audio editing features that give you a level of granular control that built-in apps simply can't match.
Ultimately, whether you're on a Mac or a Windows PC, the principle is identical. You need to isolate the audio from your video file and either mute it or remove it entirely. Starting with the free tools you already have is the smartest way to master this fundamental editing skill. It’s a foundational step for anyone who wants to produce clean, professional-looking video content.
How to Remove Sound from a Video on Your Phone
Let's face it, most of our videos are shot, edited, and shared straight from our phones these days. That means being able to quickly clean up your clips on the go is a must. How many times have you recorded a great shot, only to realise the background is full of traffic noise or a conversation you'd rather not share? It happens all the time. Thankfully, both iOS and Android have super simple ways to strip the sound out, no computer needed.
For anyone creating content for social media, mobile editing isn't just a convenience; it's the entire workflow. This is especially true here in the UK. By early 2025, YouTube's active user base in the United Kingdom hit around 54.8 million people—that’s nearly 79% of the population. When you've got that many people watching, getting your audio right (or removing it entirely) is crucial. If you're interested in the numbers, you can find more UK social media trends at Sprout Social.
With that kind of engagement, a quick, clean edit can make all the difference in grabbing someone's attention as they scroll.
Quick Fix for iPhone and iPad Users
If you’re an Apple user, the fastest way to get rid of unwanted audio is already built into your device. The Photos app has a surprisingly handy feature for muting a video in seconds, which is perfect for those last-minute tweaks before hitting 'post'.
Here’s how you do it:
- First, open the Photos app and navigate to the video you want to silence.
- Tap “Edit” in the top-right corner.
- Look for the little yellow speaker icon in the bottom-left. Just tap it. It’ll turn grey, and just like that, the sound is gone.
- Hit “Done” to save. You'll get the option to save it as a new clip, which I usually recommend, or just overwrite the original.
The best part is that this is completely reversible. If you change your mind, you can just pop back into the editor and tap the speaker icon again to bring the original audio right back.
A personal tip: If you need more control than just muting, give a free app like CapCut a go. It lets you completely detach the audio from the video track. This is perfect if you’re planning to replace the original sound with some background music or a voice-over.
Muting Videos on Android Devices
Android folks, you're not left out. You have a similar built-in tool, usually through Google Photos, which comes standard on most phones. The process is just as quick and painless as it is on iOS, making it easy to prep a clip for sharing without any distracting background noise.
Just open your video in Google Photos and tap the “Edit” button. You'll spot a speaker icon—give it a tap to mute the audio. Once it's silenced, you can save the new, sound-free version to your library.
When you need to do more than just a simple mute, there are plenty of brilliant third-party apps. InShot or the Android version of CapCut are fantastic choices. They don't just let you delete video sound; they give you a proper editing toolkit to:
- Pull the audio out as a separate file.
- Layer new audio tracks, like music and narration.
- Fine-tune the volume levels of different sounds.
In the end, whether you use a native app for a quick mute or a dedicated editor for more creative control, knowing how to remove audio on your phone is a simple skill that can instantly level up the quality of the content you share.
Beyond Basic Software: Online Tools and Power-User Methods
Sometimes, you just can't—or don't want to—install new software. Maybe you’re on a work computer with restrictions, or you just need to strip the audio from a single clip and move on. This is exactly where web-based tools come into their own, letting you get the job done right in your browser.
The beauty of these online editors is their simplicity. You typically just upload your video, click a button to mute or remove the sound, and then download the new, silent version. It’s a clean, no-fuss approach for quick, one-off tasks.
Finding a Trustworthy Online Editor
Handing your video over to a website requires a bit of trust. Since you're uploading your file to someone else's server, it pays to be cautious. Before you drag and drop that file, take a moment to look for a few tell-tale signs of a reliable service.
- Look for the Padlock: The site's address should start with HTTPS. This means your connection is encrypted, which is the bare minimum for security.
- Scan the Privacy Policy: A good service will be upfront about what happens to your data. Look for a clear statement that your files are automatically deleted from their servers after a few hours.
- Watch Out for Ad Overload: A few ads are normal for a free tool, but if the site is a minefield of pop-ups and flashy banners, it’s often a red flag for shoddy security.
Here's a simple rule of thumb I always follow: never upload anything sensitive. For a holiday video or some B-roll footage, online tools are fantastic. For confidential client work or private family moments, stick to a desktop application you control.
If you’re dealing with more than just a single clip, or need to build this into a bigger process, you'll likely need something more powerful. For instance, the different SoReel pricing plans are built for handling larger volumes and offer a more professional-grade solution.
The Command-Line Pro's Choice: FFmpeg
For developers, video pros, or anyone who feels at home in a terminal window, FFmpeg is the gold standard. It’s a completely free, open-source powerhouse that can manipulate video and audio in almost any way imaginable. Naturally, removing an audio track is child's play for it.
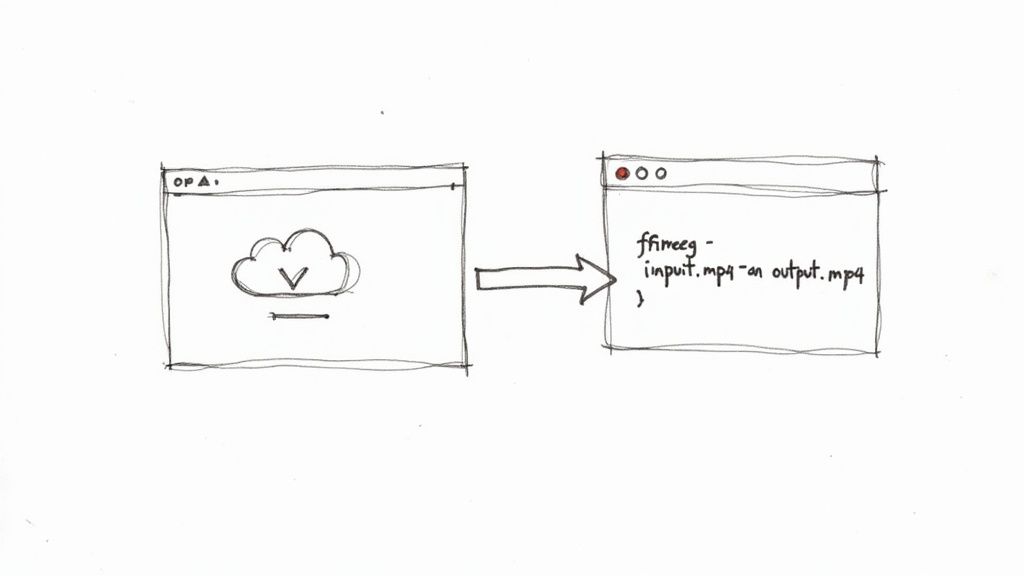
Here’s a look at the official FFmpeg website. It’s not flashy, which perfectly matches the tool itself—it's all about raw power and functionality.
Once you have FFmpeg installed, stripping the audio from a video takes just a single command. Open up your terminal (or Command Prompt on Windows), navigate to your video's folder, and type this:
ffmpeg -i input.mp4 -c copy -an output.mp4
Let's quickly demystify that command:
ffmpeg: This calls the program to run.-i input.mp4: The-iflag is for your "input" file. Just swapinput.mp4with your video's actual name.-c copy: This is a crucial bit. It tells FFmpeg to copy the video stream as-is, without re-encoding. This is blazingly fast and means zero quality loss.-an: This is the magic part. It simply means "audio no"—or "no audio."output.mp4: This is what you want to name your new, silent video file.
This single line of code is a game-changer for anyone working with lots of videos. You can easily wrap it in a simple script to process an entire folder of clips at once, making it the perfect tool for automating repetitive, high-volume tasks.
Polishing Your Work After Removing the Audio
So you’ve stripped the audio from your video. Great! But don't just hit export and call it a day. I’ve learned from experience that a few extra minutes spent on post-edit checks can save you a world of headaches later, from weird playback glitches to bloated file sizes.
First things first, and this is non-negotiable in any editing work: always work on a copy. Before you do anything else, duplicate your original video file. This is your safety net. There's nothing worse than realising you've permanently deleted audio you suddenly need for another version of the project. It's a simple habit that has saved me more times than I can count.
Running Final Quality Checks
With your duplicate file ready, it's time to ensure the final product is truly clean and professional. It’s not just about making sure it’s silent; you need to confirm the file is technically sound and will behave itself wherever it's played.
This is more important than ever. Think about how many different devices and platforms people use to watch videos today. In the UK alone, the use of Subscription Video-on-Demand (SVoD) services in households shot up by a staggering 240% between 2015 and 2024. With over two-thirds of homes now streaming, your content has to work flawlessly everywhere. You can read more about these online streaming statistics from Uswitch.com.
Here’s a quick checklist I run through:
- Check the Metadata: Some tools are sneaky and leave behind audio metadata even after the sound itself is gone. Use a metadata viewer to peek under the hood and make sure there’s no ghost data from the original audio track lingering.
- Confirm the File Size: Removing the audio stream should make the file noticeably smaller. If the size is almost identical to the original, you've probably just muted the audio instead of deleting it. This can be an issue if you’re up against strict upload limits.
- Test Playback Everywhere: Don't just play it back on your computer. Try it on your phone, a tablet, and maybe even a TV. I often upload the video as a private post to the social media platform it's destined for, just to be certain it plays correctly without any unexpected errors.
Mute vs. Delete: A Strategic Choice
Knowing when to mute and when to delete the audio track is a key part of an efficient workflow. The choice really boils down to what you plan to do with the video next.
Muting is a reversible action. It just sets the audio volume to zero, but the actual audio data is still part of the file. Deleting is permanent. It strips the audio stream out completely, reducing the file size and making the change final for that copy of the video.
I think of it this way: muting is like flicking a light switch off, whereas deleting is like taking the bulb out and throwing it away.
If there’s any chance you might need that original sound later—maybe for an archive or a "behind-the-scenes" cut—then muting is the sensible, non-destructive path. But if you’re prepping the clip for a brand-new soundtrack or need the smallest possible file for a quick upload, a full video sound delete is the way to go. It’s cleaner and more definitive. Making this decision consciously from the start is what separates a novice from a pro.
Frequently Asked Questions
When it comes to stripping the sound out of a video, a few questions always seem to pop up. Whether you're stuck on a particular step or just curious about the finer points, getting these details sorted can really speed up your editing.
Let's walk through some of the most common queries we hear from users, with practical answers to get you on your way.
Will Deleting the Audio Reduce My Video File Size?
Yes, it almost certainly will. The audio track, especially if it’s a high-quality or uncompressed stream, can be surprisingly chunky. How much space you'll save really depends on the audio's bitrate and how long the video is, but you'll usually see a tangible difference.
Just as a quick real-world example, removing the standard audio from a 10-minute HD video clip can easily shave off 10-15 MB. It might not sound like a huge amount, but when you’re trying to squeeze a file into an email or upload it somewhere with tight size limits, every megabyte counts.
Can I Get the Audio Back After Deleting It?
This is a big one. Once you’ve saved the video file after removing the audio, that change is baked in for that particular copy. There's no magic "undo" button to bring the original sound back.
This is exactly why the first rule of video editing is to always work on a duplicate of your original file. Think of it as your safety net. By keeping the master copy untouched, you can always go back to the source if you make a mistake or the project's requirements change. No stress, no panic.
Should I Mute the Video or Completely Remove the Audio?
Great question. They sound like the same thing, but technically, they're worlds apart. What you choose really comes down to what you're trying to achieve.
- Muting: Think of this as a non-destructive edit. All you're doing is setting the volume to zero. The actual sound data is still there, tucked away in the file, and you can easily unmute it later in most editors. It's perfect for quick social media clips or when you suspect you might need that original sound down the line.
- Removing/Deleting: This is the destructive option. It physically strips the entire audio stream from the video file. Go this route only when you are 100% certain you won't need the original sound again and your main goal is to shrink the final file size.
Are Online Audio Removal Tools Safe to Use?
For everyday, non-sensitive videos, most well-known online tools are perfectly safe and incredibly handy. That said, it’s always wise to be a little cautious before you upload personal files to any web service.
A good online tool should have a secure connection (look for HTTPS in the web address) and a clear privacy policy explaining that your files are deleted from their servers after a short time. As a rule of thumb, just don't upload anything containing private, confidential, or sensitive information. If you'd like to dive deeper into questions about editing tools and security, you can find a lot more information in our SoReel FAQ section.
Ready to create perfectly silent, high-quality videos without the hassle? SoReel uses AI to not only remove or enhance audio but also to upscale video resolution and remove watermarks, giving you a polished, professional clip every time. Discover how SoReel can streamline your video workflow today.
Article created using Outrank