Master Your Video Aspect Ratio Changer Guide

Tired of black bars or cropped videos? Our guide to using a video aspect ratio changer shows you how to perfectly reformat video for any platform.
A good video aspect ratio changer is simply a tool that reshapes your video's dimensions to fit different platforms. Think of it as taking a widescreen 16:9 YouTube video and perfectly reformatting it into a vertical 9:16 clip for TikTok. Honestly, it’s a non-negotiable part of any modern content creator’s workflow, making sure your videos look professional and polished on every screen, from a living room TV to a smartphone.
Why Aspect Ratios Matter More Than Ever
Let’s be real for a moment. When you see a YouTube video with awkward black bars or an Instagram Reel where the best part of the action is cropped out, it just screams amateur. Getting your video aspect ratios right isn't just a fussy technical detail anymore; it's absolutely fundamental to keeping your audience hooked.
Viewers today jump between a huge range of devices, and each one has its own preferred screen shape. This multi-screen reality makes a video aspect ratio changer an indispensable tool. What looks stunning on a widescreen monitor will be almost unwatchable on a vertical phone screen without the right adjustments.
Getting this wrong is costly. It can lead to:
- A Terrible Viewing Experience: People are quick to scroll past content that’s poorly framed or hard to see.
- Crushed Reach: Social media algorithms tend to favour content that’s natively formatted for their platform. An improperly sized video might not get shown to nearly as many people.
- Wasted Creative Effort: That perfectly timed visual joke or stunning shot? It’s completely lost if it gets chopped out of the frame on certain devices.
A Quick Look at Common Video Aspect Ratios
Before diving into how to change aspect ratios, it helps to know the main players. Here's a quick reference guide to the most common video aspect ratios and where you'll typically find them.
Common Video Aspect Ratios and Their Platforms
| Aspect Ratio | Common Resolution (Pixels) | Primary Use Platforms | Best For |
|---|---|---|---|
| 16:9 | 1920x1080 (HD), 3840x2160 (4K) | YouTube, Vimeo, Facebook, LinkedIn, TV broadcasts | Standard widescreen videos, cinematic content, tutorials, vlogs |
| 9:16 | 1080x1920 | TikTok, Instagram Reels, YouTube Shorts, Snapchat | Vertical, mobile-first short-form video content |
| 1:1 | 1080x1080 | Instagram feed posts, Facebook feed posts, Twitter (X) | Square videos that perform well in social media feeds |
| 4:5 | 1080x1350 | Instagram feed posts, Facebook ads | Vertical-leaning videos that take up more screen space in feeds |
| 21:9 | 2560x1080, 3440x1440 | Cinematic films, ultra-widescreen monitors | Creating a highly cinematic, film-like viewing experience |
Knowing these formats is the first step. It allows you to plan your shots and edits with the final destination in mind, saving you a world of headaches later on.
The Shift to Widescreen and Beyond
The obsession with aspect ratios isn't new; it has just evolved alongside our screens. For decades, the standard was the boxy 4:3 ratio of old television sets. The transition from traditional 4:3 to widescreen 16:9 in the UK dramatically influenced how we watch and edit video.
By 2008, widescreen televisions became the norm, driven by our collective desire for a more cinematic experience at home. This shift forced content creators to start using video aspect ratio changers to reformat older 4:3 content for new screens. That challenge has only intensified with the explosive growth of vertical video. If you’re curious about the full story, it's worth exploring the history of display aspect ratios.
These days, creators have to think in multiple dimensions at once. A single piece of content might need to exist as a horizontal 16:9 for YouTube, a square 1:1 for an Instagram feed, and a vertical 9:16 for a Reel.
This is precisely why understanding the core ratios is so crucial. Each one is designed to maximise the viewing area on its target platform, creating a more immersive and engaging experience. If you ignore them, you’re simply leaving views and engagement on the table.
Choosing Your Resizing Technique
When you fire up a video aspect ratio changer, you’re met with a few core choices. How you decide to proceed will completely reshape your final video, so it's not a decision to take lightly. The right call hinges on what your video actually shows and, more importantly, where people will be watching it.
Let's get practical and look at the real-world trade-offs of each method.
This handy visual breaks down the initial thought process based on where your video is headed—a big screen or a social feed.
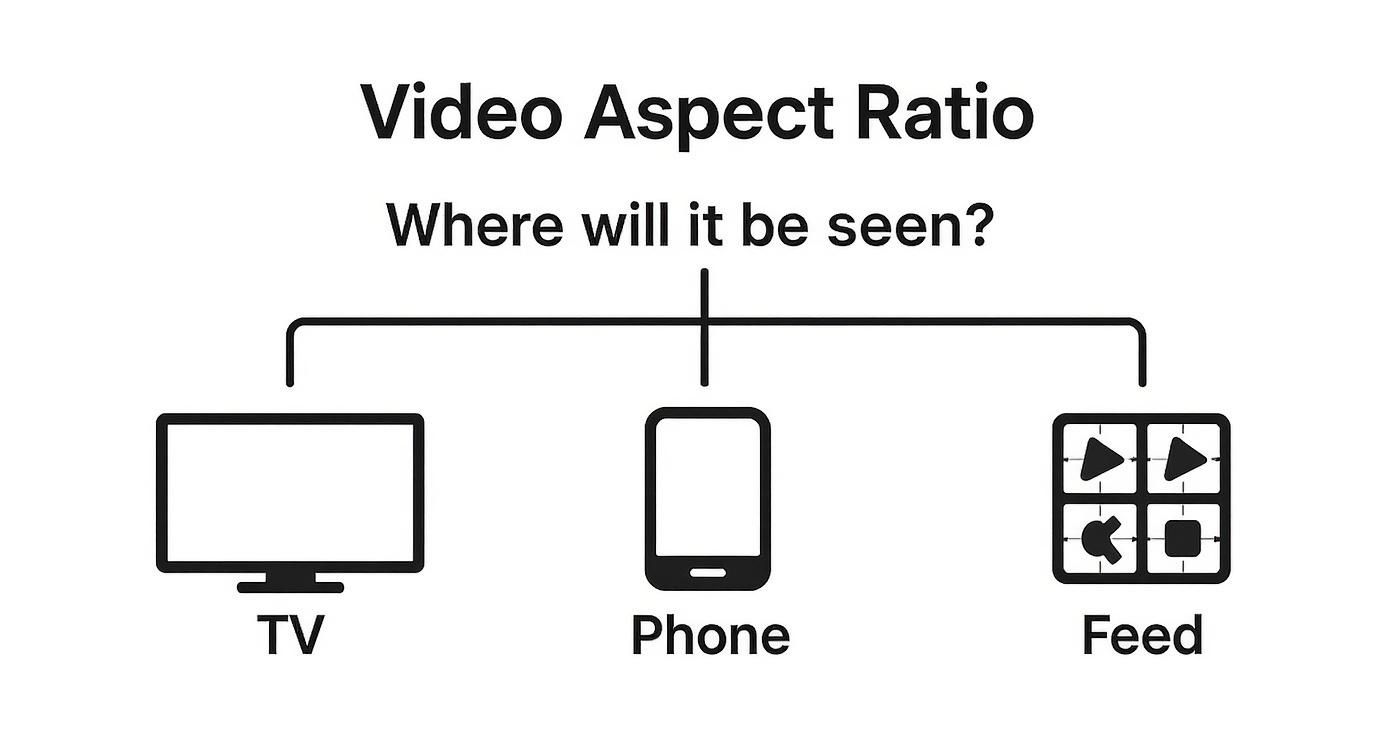
Ultimately, it’s a tug-of-war. Do you want that immersive, full-screen experience for mobile users, or is it more important to protect the original widescreen composition for larger displays?
The Cropping Method
Cropping is what most people reach for when turning a horizontal 16:9 video into a vertical 9:16 clip for TikTok or Instagram Reels. It’s a straightforward approach: the tool zooms into your footage and simply slices off the sides to fit the new, taller frame.
The upside is huge. You get a clean, modern look that fills a phone screen, which is proven to grab and hold attention. The risk, however, is just as significant. You can easily cut out key details or completely wreck the shot's original framing. That perfect wide shot of your team might suddenly become an awkward close-up of one person's ear.
Padding with Letterboxing or Pillarboxing
If your number one goal is to preserve every single pixel of your original shot, then padding is the technique for you. This method adds black bars to fill the empty space when you place a video inside a frame of a different shape.
- Letterboxing: This adds bars to the top and bottom. Think of watching a cinematic 21:9 film on your 16:9 television.
- Pillarboxing: This adds bars to the sides, which you often see when an old 4:3 TV show is played on a modern 16:9 screen.
This approach guarantees your audience sees the entire frame exactly as you shot it. The downside? It can feel a bit dated and less immersive, especially on mobile feeds where vertical, full-screen video is the undisputed king.
Pro Tip: You don't have to settle for boring black bars. Many editors now let you get creative with the padded space. You could use your brand's colours or even a blurred, stretched-out version of the video itself in the background. It's a great compromise that looks far more polished.
The Danger of Stretching
Here’s one method you should almost never use: stretching. It does exactly what it sounds like—distorting your video by yanking it sideways or downwards to fill a new frame.
The result is always awful. People and objects look weirdly squashed or tall and skinny. It screams low-effort and instantly undermines the quality of your work. Unless you’re aiming for a very specific, surreal artistic effect, just don't do it.
Intelligent and AI-Powered Reframing
Now for the clever stuff. The most advanced option is intelligent reframing. Modern tools, particularly those using AI, can analyse the action in your video. When cropping from wide to vertical, the software automatically tracks the main subject—whether it's a person speaking or a car moving—and keeps it perfectly centred in the new frame.
This is a complete game-changer for repurposing content quickly. You get all the full-screen benefits of cropping but without the agonising manual work of re-centring every shot yourself. For businesses that need to process lots of footage, looking into a tool like the SoReel API for automated processing can be an incredible time-saver.
Using Common Desktop and Online Tools
Knowing the theory is one thing, but actually getting your hands dirty is what matters. Whether you're a fan of powerhouse desktop software or you prefer the speed of an online tool, the basic workflow for changing a video's aspect ratio is pretty similar. Let's break down how to tackle it in both.
For bigger, more complex projects, nothing beats the control you get with a desktop video editor like Adobe Premiere Pro or DaVinci Resolve. These programmes are built around a 'sequence' or 'timeline', which is basically the canvas for your video. The absolute first thing you should do is set up this canvas to match your final aspect ratio.
Working with Desktop Video Editors
Let's say you're editing a video for TikTok. You wouldn't just drop your footage into a standard 16:9 sequence and hope for the best. No, the right way to start is by creating a custom sequence with 1080x1920 dimensions. This gives you a 9:16 vertical frame right from the get-go. Getting this right at the beginning saves a world of headaches later on.
With your vertical canvas set, you can now bring in your wider source footage. This is where you’ll use the techniques we've already covered:
- Cropping and Repositioning: You'll need to go through your clips and manually tweak the 'Position' and 'Scale' properties to make sure the most important part of the action is perfectly framed.
- Using AI Tools: Thankfully, modern editors have some clever tricks up their sleeves. In Premiere Pro, for instance, the Auto Reframe effect is a brilliant time-saver. It analyses your clip and automatically creates motion keyframes to keep the subject centred, even as it moves around in the original wide shot.
This hands-on method gives you precise, clip-by-clip control, making sure your final composition looks polished and intentional.
Quick Adjustments with Online Changers
Sometimes, you don't need a full-blown editing suite. You've got one video, and you just need to resize it for social media without waiting for a massive application to load. This is where browser-based tools really come into their own. An online video aspect ratio changer can get the job done in just a few clicks.
Most online tools offer a really simple, streamlined process. You upload your video and are immediately greeted with a set of presets, usually labelled by platform—think 'Instagram Reel (9:16)' or 'YouTube (16:9)'.
The real difference here is speed. Online tools are built for pure efficiency, often rolling the aspect ratio selection and the fill/fit options into one simple step. You pick a preset, decide if you want to crop in (fill) or add black bars (fit), and hit export.
This approach is perfect for one-off jobs or for creators who need to repurpose content quickly without getting lost in technical settings. You might give up some of the fine-grained control of a desktop editor, but the convenience is often a worthy trade-off.
For more tips on optimising your video workflow, feel free to explore the resources on our blog. It's all about choosing the right tool for the job at hand.
Get Hands-On with FFmpeg for Total Control
For those who need more precision than a graphical interface can offer, it’s time to roll up our sleeves and dive into the command line. This is where FFmpeg comes in—it’s the open-source engine that powers a surprising number of video apps you probably already use.
Don’t let the terminal window intimidate you. Once you get the hang of a few key commands, you unlock an incredible amount of control over your media. Think of FFmpeg as the ultimate Swiss Army knife for video. It lets you do things like batch-process an entire folder of clips without ever opening a traditional editing suite. This is a game-changer for developers, technical marketers, or anyone who needs to build video resizing into an automated workflow.
This kind of granular control is exactly why FFmpeg is a staple in professional circles. In the UK, the film, video, and TV post-production sector—a market valued at around £1.5 billion—depends on robust, scriptable tools like this. With over 3,290 businesses all working to deliver content for different platforms, the efficiency gained from command-line processing is a massive competitive edge. You can get a deeper look into the UK's post-production industry and its tech needs over at IBISWorld.
Core FFmpeg Commands for Resizing
Right, let’s get practical. Here are a couple of real-world examples you can copy, paste, and adapt. The secret sauce is the -vf flag, which stands for "video filter." It’s where all the action happens.
Cropping a 16:9 Video to a 1:1 Square
Got a standard widescreen video (input.mp4) that you need to turn into a perfect square for an Instagram post? This command will carve out a 1080x1080 video right from the centre.
ffmpeg -i input.mp4 -vf "crop=1080:1080" output_square.mp4
The crop=1080:1080 part tells FFmpeg the exact width and height you want for your final video. By default, it makes the crop from the dead centre of the frame, which is usually just what you need.
A Pro Tip From Experience: The real magic of FFmpeg is in its "filter chains." You can string multiple filters together in one command. Need to crop, scale, and tweak the colours? You can do it all in a single, super-efficient pass.
Padding a 4:3 Video to Fit a 16:9 Frame
What if you're working with older 4:3 footage and need to show it on a modern 16:9 screen without distorting the image? The classic solution is to add black bars on the sides, known as pillarboxing. This command will take your 4:3 video and place it neatly inside a 1920x1080 frame.
ffmpeg -i input_4_3.mp4 -vf "scale=1440:1080,pad=1920:1080:(ow-iw)/2:(oh-ih)/2" output_padded.mp4
Let's break down what that command is actually doing:
scale=1440:1080: First, it scales the 4:3 video up so its height is 1080 pixels, keeping the original aspect ratio intact.pad=1920:1080: Next, it creates a new 1920x1080 black canvas.(ow-iw)/2:(oh-ih)/2: This bit of maths is the clever part. It automatically calculates the x and y coordinates needed to place your scaled video perfectly in the centre of the new canvas.
Once you get comfortable with commands like these, FFmpeg stops being an intimidating tool and becomes an indispensable part of your video workflow. It gives you the power to automate repetitive tasks that would take ages in a normal video editor.
Maintaining Quality and Good Composition
Changing a video's aspect ratio is one thing; doing it without butchering the final product is another challenge entirely. When you use a video aspect ratio changer, it’s all about making smart decisions that protect both the technical quality and the artistic intent of your original footage. A poorly resized video just looks sloppy and can make viewers tune out instantly.
The goal here is to make the new format look like it was always meant to be, not like a rushed, clumsy afterthought. To do this, you need to think like both a filmmaker and a technician, balancing creative composition with the practical limits of your video files.
This means you’ve got to avoid the most common resizing sins. Simply stretching a low-resolution clip to fill a bigger frame is a classic mistake. That doesn't magically add new detail; it just magnifies the existing pixels, which leads to that ugly, blocky distortion we all know as artefacts.
Respecting the Original Framing
When you crop a widescreen video for a vertical format like a TikTok or Reel, you're essentially becoming a new camera operator. You have to decide which part of the original shot is the most important. Just slapping a static, centred crop on your footage can feel lifeless, especially if the action moves around the frame.
A much more sophisticated approach is a gentle pan-and-scan. This just means you add subtle motion to your cropped window, letting it follow a speaker or the key action as it moves across the screen. Many modern video editors can automate this process, but a manual touch gives you complete creative control over what the viewer focuses on.
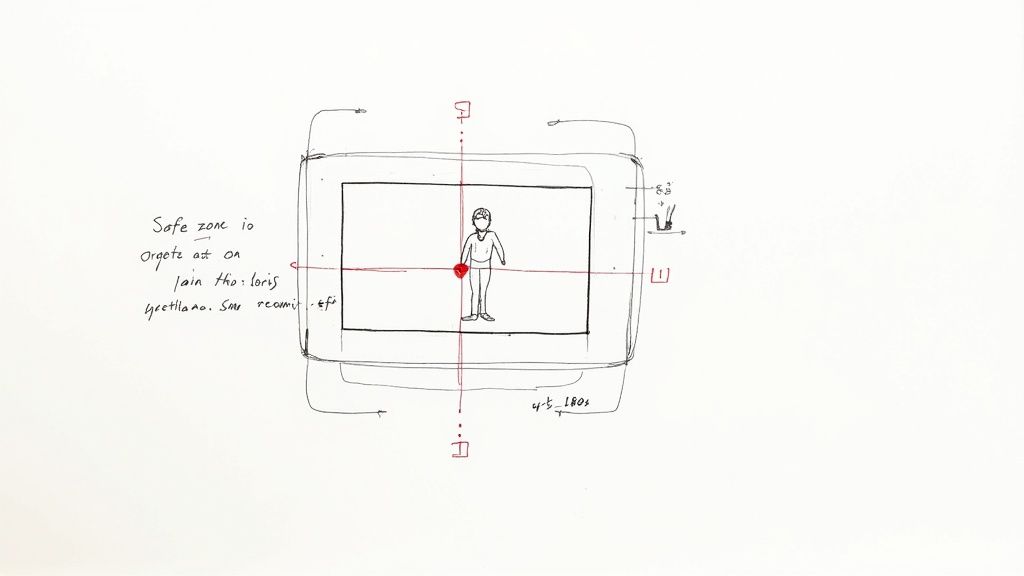
The best content creators think about multiple aspect ratios before they even hit record. By filming with 'safe zones' in mind—keeping the essential action near the centre of the frame—they ensure nothing critical is lost when cropping to 1:1 or 9:16 later on.
Technical Details That Preserve Quality
Beyond the creative framing, some technical settings play a massive role in keeping your video sharp and clear. When you export your newly resized video, pay close attention to the bitrate. This setting basically controls how much data is used to encode each second of video.
- Low Bitrate: You'll get smaller file sizes, but you can introduce noticeable compression artefacts, especially in scenes with lots of motion or fine detail.
- High Bitrate: This preserves much more detail for a cleaner image, but the trade-off is a much larger file.
As a rule of thumb, always try to match the export bitrate to your original source footage. If you're resizing a high-quality clip, don't cripple it with a low-bitrate export. Keeping your resolution consistent is also vital. Downscaling is generally fine, but upscaling a 720p clip to 1080p will always result in a soft, blurry image. It’s a simple rule, but it makes a world of difference.
Frequently Asked Questions
When you start resizing videos, a few questions always seem to pop up, especially when you're trying to get a professional-looking result. Let's clear up some of the most common ones so you can get back to creating without the technical fuss.
Will Changing the Aspect Ratio Reduce My Video Quality?
Not always. It really hinges on how you go about it. Quality loss usually becomes a problem in two situations: stretching a smaller video to fit a larger frame (upscaling) or exporting with a very low, aggressive bitrate.
Methods like cropping and padding don't inherently mess with the pixel quality of your original footage. The trick is to always export your video using settings that respect the quality of your source file, preserving its sharpness and clarity.
Pro Tip: Think of it like a photograph. Cropping a picture doesn't make it blurry, but trying to blow up a tiny thumbnail into a poster certainly will. The same logic applies to your video.
Can I Change the Aspect Ratio Without Cropping My Video?
You absolutely can. If you need to change the frame's dimensions but want to keep every pixel of your original shot, your best bet is padding. This simply adds coloured bars to fill the empty space created by the new aspect ratio.
- Letterboxing: This adds bars to the top and bottom of your video. You’ve probably seen this when watching a widescreen film on a standard TV.
- Pillarboxing: This adds bars to the sides, which is a great way to fit old 4:3 footage into a modern 16:9 frame without stretching it.
Using padding means your original composition stays completely intact, though it does mean you lose that immersive, full-screen feel on mobile devices.
What Is the Best Aspect Ratio for Social Media?
Honestly, there isn't one single "best" ratio. It all comes down to where you're posting. Each social media platform is built for a specific viewing experience, and sticking to its native format is the key to getting more eyes on your content.
For the vertical, short-form world of TikTok, Instagram Reels, and YouTube Shorts, a 9:16 aspect ratio is the only way to go. If you're posting to the main Instagram or Facebook feeds, a 1:1 (square) or 4:5 (vertical) ratio often works wonders because it takes up more of the screen as people scroll.
And, of course, for traditional long-form videos on YouTube, the cinematic 16:9 format still reigns supreme. It’s always smart to double-check the latest platform guidelines, as they do change from time to time. If you’ve got more questions, our comprehensive FAQ page has plenty more in-depth answers to help you nail your video workflow.