How to Upscale Video to 4K A Creator's Guide

Learn how to professionally upscale video to 4K. Our guide covers AI tools, optimal settings, and export tips for creators aiming for superior quality.
So, what does it actually mean to upscale a video to 4K? At its core, you’re taking a video file—say, a standard 1080p one—and using specialised software to stretch it to fit a much larger 3840 x 2160 pixel grid. But it’s not just about stretching. Modern AI tools are incredibly clever; they analyse the existing image and intelligently reconstruct details to create a result that’s genuinely sharper and cleaner.
Why Upscaling to 4K Is a Game Changer for Creators
In a world full of high-definition screens, your video’s quality is often the first thing people notice. Bumping your footage up from 1080p to 4K isn't just a technical tweak anymore; it’s a crucial move for any creator who wants to be taken seriously. It's what separates content that looks passable from content that looks professionally produced and polished.
This jump in quality pays off in some very practical ways, especially when you’re trying to get noticed on crowded platforms.
- Platform Algorithms: Let's be honest, platforms like YouTube have a preference for high-resolution content. Uploading in 4K can give your videos a little nudge, potentially boosting their visibility in search and recommendations.
- Future-Proofing Your Content: Tech moves fast. What looks great today can seem dated in just a couple of years. By upscaling to 4K now, you’re making sure your hard work stays crisp and relevant as screen technology continues to advance.
- A Better Viewing Experience: At the end of the day, it's all about your audience. A sharper, more detailed video is simply more immersive and enjoyable to watch, which can keep viewers engaged for longer.
This whole shift is being driven by what people are using to watch content at home. In the UK, the boom in connected TVs is directly tied to the demand for 4K. That market is set to grow at a compound annual rate of 11.5% between 2025 and 2035.
It’s expected to be worth around USD 5.601 billion by 2035, which tells you one thing: more and more of your audience will be watching on screens that show up every single pixel. If you’re interested in the data, you can read more about the UK connected TV market trends.
The goal isn't just to make the video bigger; it's to make it better. Modern AI techniques analyse the existing footage and intelligently generate new detail, turning standard HD into something that looks genuinely native to a 4K screen.
Prepping Your Footage for a Flawless Upscale
Before you even dream of hitting that "upscale" button, you need to get your source file in order. It's the oldest saying in video production, but it holds true: garbage in, bigger garbage out. Trying to upscale a heavily compressed video you grabbed from social media is a surefire way to end up with a blurry, artefact-riddled mess.
The AI needs clean data to work its magic. Seriously, always start with the highest quality original file you can get your hands on. That means the raw camera footage or a master export, not a version that’s already been squashed for the web. Every bit of detail lost in the source file is detail the AI can't possibly bring back.
This shows the simple but powerful jump from a standard 1080p source to a crisp 4K output.
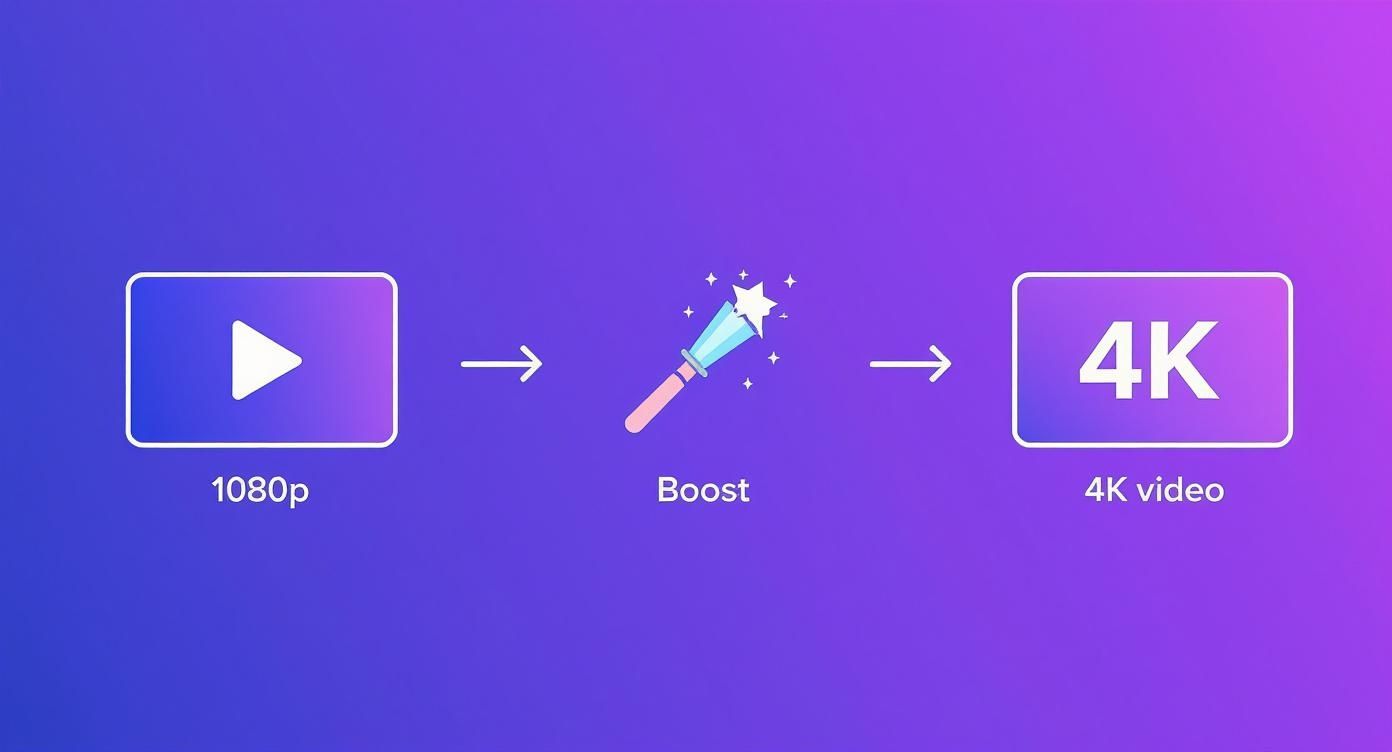
You can see how the enhancement technology acts as the bridge, boosting pixel density and sharpening details for a much better final product.
The Pre-Flight Checklist
Think of this as your pre-flight check before taking off. Any little flaw you spot now is going to be four times more obvious in 4K. Taking a few minutes to clean up your footage first will make a night-and-day difference to the final quality.
Your goal here isn't a full creative colour grade; it's about fixing technical issues. These subtle corrections create a pristine canvas for the upscaling algorithm to work on.
- Subtle Exposure and Colour Correction: Is your footage a bit dark? Gently lift the shadows. Is the white balance a little off? Fix it now. Making these small tweaks ensures the AI isn’t trying to enhance inaccurately coloured pixels.
- Minor Blemish Removal: Spotted a tiny bit of sensor dust in the corner or a small lens flare? Clean it up. These tiny imperfections can turn into distracting blobs in the final 4K version.
- Avoid Over-Sharpening: Whatever you do, resist the urge to sharpen your 1080p footage beforehand. AI upscaling includes its own sharpening and detail enhancement, so adding your own can result in a harsh, over-processed look.
Remember, the aim is restoration, not alteration. You want to give the AI the cleanest, most technically sound version of your original footage. For professional results, this step is non-negotiable.
Once your source video is clean and technically sound, it’s ready for the main event. You’ve removed the distractions and given the software the best possible material to analyse and rebuild into a stunning 4K file. This prep work directly impacts the final clarity and integrity of your video.
Choosing Your Upscaling Weapon: AI vs Traditional Tools
So, you’re ready to upscale your video to 4K. Great. But first, you've got a decision to make. You can go down one of two very different paths: the old-school, traditional route or the newer, smarter path powered by artificial intelligence.
Honestly, the right choice boils down to what you’re working with and what you want the final product to look like.
Traditional methods, which rely on mathematical algorithms like bicubic or lanczos interpolation, are probably already sitting inside your go-to editor, like Adobe Premiere Pro. They work by stretching the existing pixels to fill the bigger 4K frame and then applying a bit of smoothing to hide the rough edges.
It's quick, easy, and gets the job done if you're just bumping the resolution up slightly. The downside? The result is often a bit soft. It lacks that crisp, genuine 4K detail. Think of it as a quick fix, not a professional enhancement.
The AI Advantage in Video Upscaling
This is where AI upscaling completely flips the script. Instead of just making pixels bigger, AI models have been trained on mountains of video data. They’ve learned to recognise objects, textures, and patterns, understanding what a sharp, high-quality image is supposed to look like.
When you upscale video to 4K with an AI tool, it’s not just stretching—it’s intelligently rebuilding. It generates entirely new pixel data to fill in the gaps, creating details that simply weren't there before. The result is a video that’s genuinely sharper and cleaner. For more tips on making your videos pop, we're always sharing new ideas over on the SoReel blog.
Let me give you a couple of real-world examples where this makes a night-and-day difference:
- Breathing life into old footage: Got some grainy, archival clips? A traditional tool would just make the grain and blur bigger. An AI, on the other hand, can identify the noise, strip it away, and reconstruct the details underneath. It’s like digital restoration.
- Polishing a 1080p interview: If you've got a clean 1080p source, AI is your best friend. It can sharpen up facial features, pull out the texture in clothing, and refine background elements without adding weird artefacts. It makes your footage look like it was shot on a much better camera.
AI doesn't just enlarge your video; it rebuilds it with new, contextually aware detail. This fundamental difference is why AI-powered upscaling produces superior, more professional results compared to traditional interpolation methods.
AI Upscaling vs Traditional Interpolation
Choosing between these two methods involves a simple trade-off between speed, cost, and quality. To make it clearer, here’s a quick side-by-side comparison.
| Feature | AI-Powered Upscaling | Traditional Interpolation (e.g., Bicubic) |
|---|---|---|
| Quality & Detail | Genuinely sharper and cleaner. It intelligently reconstructs fine details for a crisp, professional finish. | Often results in a soft, blurry image. Details can be lost, especially with large resolution jumps. |
| How It Works | Analyses video content and generates new, plausible pixel data based on its training. | Stretches existing pixels to fit the new frame size and then smoothes the image. |
| Artefacts | Can sometimes introduce minor, unusual artefacts if the AI misinterprets a scene. | Tends to create "blocky" or "halo" artefacts, especially around sharp edges. |
| Speed | Slower. Processing is computationally intensive and can take a significant amount of time. | Very fast. It’s a simple mathematical process that often renders in near real-time. |
| Cost & Tools | Usually requires dedicated software or a subscription-based service. | Typically included for free in most video editing software (e.g., Premiere Pro, Final Cut Pro). |
| Best For... | High-end projects, restoring old or low-quality footage, and achieving the best possible quality. | Quick, minor resolution increases where speed is more important than perfect detail. |
For any creator who's serious about producing top-tier content, the extra time and potential cost of AI are a worthwhile investment. The final result simply speaks for itself.
Dialing In Your Settings for Professional Results

This is where the real craft comes in. You’ve picked your AI tool and prepped your footage; now it’s time to fine-tune the settings that will lift your 1080p clip into a polished 4K masterpiece. Looking at a control panel full of sliders and technical jargon can feel a bit much, but trust me, each setting is a lever you can pull to get a specific, professional result.
Think of this stage less like a technical task and more like a final audio mix for your visuals. You're not just making the video bigger; you're balancing all the elements to create genuine clarity and impact. The right combination can make your upscaled video look like it was natively shot in 4K, while the wrong one can leave it looking plasticky and over-processed.
Let's break down the most critical controls you’ll be working with.
Choosing Your Codec and Bitrate
First up, let's talk about the digital 'container' your final video will live in. The codec you choose is all about compression—it’s a constant balancing act between file size and visual quality. If you get this wrong, you could undo all your hard work and end up with a muddy, artefact-ridden export.
For modern 4K delivery, your best bet is almost always H.265 (HEVC). It’s a huge leap forward from its older sibling, H.264, delivering comparable or even better quality at a much smaller file size. This is a game-changer when you upscale video to 4K, as the uncompressed files can be absolutely enormous.
Next is the bitrate, which is essentially the amount of data allocated to each second of video. This is crucial for maintaining detail.
- For high-action scenes: Got a lot of movement, like sports footage or a dynamic drone shot? You'll need a higher bitrate—think 45-65 Mbps—to preserve all that detail and avoid those ugly blocky artefacts.
- For talking heads or static shots: For slower-paced content, like an interview or a landscape, you can often get away with a lower bitrate of around 35-45 Mbps without a noticeable drop in quality.
Your bitrate is your quality budget. Squeezing it too tight will starve the new AI-generated details of the data they need to shine, resulting in a compressed, messy look. When in doubt, always err on the side of a slightly higher bitrate.
The Fine Art of Denoising and Sharpening
Now we get to the delicate part. A light touch is absolutely essential here. Most AI upscalers come with powerful denoising and sharpening tools, but overdoing them is the fastest way to make your video look fake. These two settings work in tandem to refine the image, so you need to approach them with a bit of finesse.
Denoising should be your first pass. If your original 1080p footage has some digital grain or noise (which is really common in low-light shots), a gentle denoise pass can clean it up before the AI starts adding new detail. My advice? Apply it sparingly. You just want to smooth out the distracting grain without scrubbing away fine textures. I always start with a low value and nudge it up slowly until the noise is less distracting.
Once the image is clean, sharpening adds that final pop. This isn't the crude, basic sharpening you find in older editors; AI-powered sharpening is designed to enhance edges and textures intelligently. Again, less is more. The goal is to add clarity, not to create harsh, artificial lines around every object. A subtle boost can make faces, text, and background details feel crisp and properly defined.
This level of quality is fast becoming the standard, not the exception. In fact, smart TVs are now in 62% of UK households, with premium 4K models already in 9% of homes. You can learn more about these TV ownership trends to understand what your audience is watching on.
These settings are incredibly powerful, but they demand a careful hand. If you find yourself processing a high volume of clips and need consistent results, exploring automated solutions can be a massive time-saver. You can check out the different plans available for AI video enhancement to see how batch processing and API access can fit into a professional workflow.
https://soreel.app/pricing
The Final Polish: Exporting and Quality Control
https://www.youtube.com/embed/gj9trbXp5T0
You've tweaked the settings and let the AI work its magic, but the job of upscaling your video to 4K isn't quite finished. This final stage—quality control and exporting—is where you lock in all that effort. Rushing this last step is a classic mistake, and it can easily undo all your hard work.
Before you even think about hitting that export button, it’s time to play detective. Get your upscaled video onto the biggest, highest-resolution screen you can find and give it a proper watch-through. Don't just sit back and enjoy it; you need to scrutinise it.
I always recommend spot-checking tricky areas frame by frame. Pay close attention to scenes with fine details, complex textures, or subtle movement, as this is where AI can occasionally slip up.
What to Look For During Your Quality Check
This isn't about finding glaring errors. It's about spotting the subtle little artefacts that make the difference between a good upscale and a great one. Keep a sharp eye out for these common tells:
- Shimmering Textures: Watch surfaces like brick walls, fabrics, or grassy fields during camera pans or tilts. If they seem to flicker or shimmer unnaturally, it’s a sign the AI struggled to consistently rebuild those repeating patterns.
- Unnatural Smoothness: Take a close look at faces. A tell-tale sign of over-eager denoising is that "plastic" or waxy look where natural skin texture has been scrubbed away. The goal is clean, not artificial.
- "Watery" Artefacts: In busy scenes, you might notice odd, fluid-like distortions, particularly in the background. This can happen when the AI is essentially guessing what pixels should be there, and sometimes it gets a little creative.
A truly successful upscale should be completely unnoticeable. Your footage should simply look like it was natively shot in 4K, not like it’s been through heavy processing. If something feels "off" to your eye, it probably is.
Once you’re satisfied that the visual quality is solid, it's time to export. Your settings here need to be chosen specifically for where the video will end up. A one-size-fits-all approach is a recipe for disappointment, as platforms like YouTube and Instagram handle video files in completely different ways.
For YouTube, you want to feed its algorithm the highest quality file you can. YouTube prioritises 4K content, so give it the best source material possible. I recommend exporting using the H.265 (HEVC) codec with a high bitrate, somewhere in the 45-65 Mbps range. This gives YouTube plenty of data to work with, preserving maximum detail through its own compression process.
When it comes to platforms like Instagram or TikTok, however, the strategy changes. These mobile-first platforms are ruthless with their compression. Sending them a massive 65 Mbps file is not only overkill but can sometimes result in worse-looking video as their systems struggle to process it.
A much better approach is to export using the more common H.264 codec at a bitrate of around 15-25 Mbps. This delivers a file that’s already optimised for their compression, leading to a much cleaner final result on a phone screen. Getting this right is that final, crucial polish.
Common Questions About Video Upscaling
When you first dip your toes into upscaling video to 4K, a few questions always seem to surface. It's totally normal to wonder about the limits of the tech and what you can realistically achieve. Getting straight answers from the start helps you set the right expectations for your projects.
Probably the most common question I hear is about the source material. Can you really take a terrible, low-quality video and turn it into a pristine 4K masterpiece?
The honest answer? No. AI is powerful, but it's a restorer, not a magician. If you start with a heavily compressed, blurry 480p file, you’ll just end up with a larger, slightly less blurry 4K file. Think of it this way: the AI needs decent information to analyse and rebuild. That's why starting with a clean 1080p source file will always give you exponentially better results.
Will AI Upscaling Match Native 4K Footage?
This is the million-dollar question, isn't it? While AI upscaling technology has made incredible leaps, a video shot natively in 4K on a high-end camera will almost always have more authentic detail. Native 4K simply captures more light, colour, and texture information from the very beginning.
However, a well-executed AI upscale of a clean 1080p source can get remarkably close. For most content destined for platforms like YouTube or social media, the difference can be almost impossible for the average viewer to spot.
An AI-enhanced video can achieve about 90-95% of the perceived quality of native 4K footage when working from a good source. The goal isn't to perfectly replicate detail that was never there, but to create a result that looks genuinely impressive on high-resolution screens.
How Long Does Upscaling Take?
Processing time is another big consideration. This isn't like a simple export; AI upscaling is a computationally heavy lift. The software is meticulously analysing every single frame, and that takes time. The actual speed depends on a few key things.
- Video Length: A 15-second clip is obviously going to be much faster than a 10-minute video.
- Source Resolution: Upscaling from 1080p is quicker than trying to rescue a 720p file.
- Your Hardware: A powerful computer with a dedicated graphics card (GPU) will chew through the process far faster than an older laptop.
- The Software: Some tools are simply better optimised for speed than others.
As a rough guide, a one-minute 1080p clip on a modern machine might take anywhere from 10 to 30 minutes. Knowing this helps you plan your workflow and not get caught out by unexpected render times. For more answers to common queries, you can find a lot of useful information in our detailed FAQ section.
Ready to transform your footage with stunning clarity? SoReel uses professional AI to upscale your videos to 4K, remove watermarks, and deliver platform-ready content in minutes. Try it for free today.