Eliminate Background Noise for Pro-Level Social Media Videos

Tired of bad audio? Learn how to eliminate background noise from your videos with practical recording tips and a deep dive into AI audio enhancement tools.
We've all done it. You're scrolling through TikTok or Reels, and you land on a video that looks amazing, but the sound is a mess. Whether it's a howling wind, a droning air conditioner, or just muffled speech, you can't make out what's being said. So, what do you do? You keep scrolling.
That's the reality of short-form video. You've got seconds—literally—to grab someone's attention. If your audio is fighting against you, you’ve already lost the battle. It doesn’t matter how brilliant your visuals are; bad sound will tank your video's performance every time.
Why Flawless Audio is Non-Negotiable
Let's get real about what happens when background noise creeps into your content. It’s not just a minor annoyance; it actively works against you by lowering watch time and killing engagement. It immediately signals a lack of polish, which can hurt your credibility.
Beyond performance metrics, there's a crucial accessibility angle. For the 466 million people around the world with disabling hearing loss, clean, crisp audio isn’t just a nice-to-have, it’s essential for them to understand and enjoy your content at all.
What Poor Audio Really Costs You
Think about how easily a great idea can be completely lost in translation because of noise.
- The Travel Vlogger: You’re capturing the vibrant chaos of a city market, but the traffic and crowd noise completely drown out your commentary.
- The Fitness Coach: You're filming a workout tutorial in your home gym, but the hum of the treadmill makes your instructions impossible to follow.
- The DIY Creator: You’re sharing a brilliant home improvement tip from your workshop, but the sound of your power tools obliterates the actual advice.
In every one of these cases, the value you're trying to provide is lost. The good news? You don't need to build a soundproof studio to get professional-sounding audio.
The key is a two-part strategy: be smart about how you record to minimise noise from the start, then use the right tools in post-production to polish your audio to perfection.
This guide will walk you through that exact process, from simple recording tricks to a step-by-step AI-powered workflow. For more insights and creator-focused guides, feel free to check out the SoReel blog at https://soreel.app/blog.
Winning the Battle Against Noise Before You Hit Record
The real secret to crystal-clear audio isn't fancy software—it's what you do before you even press record. While AI tools are fantastic at cleaning up sound, giving them less work to do in the first place is the smartest move. Thinking about your audio environment from the get-go saves a ton of editing time and always yields a more professional, natural-sounding final video.
Your recording space is your first line of defence against noise. You don’t need a purpose-built studio, but you do need to understand a little about how sound works. Hard, flat surfaces are the enemy; things like bare walls, wooden floors, and large windows cause sound waves to bounce around, creating the echo and reverb that can make your voice sound muddy and distant.
Creating Your Makeshift Studio
The aim here is to soften your surroundings. Try to record in a room that already has soft furnishings like a carpet, curtains, or a big sofa. These materials are great at absorbing sound instead of reflecting it back into your microphone. If your space is a bit minimalist, it's time to get creative.
- Drape Blankets: Hanging a few thick blankets on the walls or over some furniture can make a huge difference in dampening echoes.
- Use Pillows: A few strategically placed pillows in the corners of the room or just out of the camera's view will help soak up stray sound waves.
- The Wardrobe Trick: It might sound odd, but a walk-in wardrobe packed with clothes is a surprisingly effective vocal booth. All that fabric provides incredible sound absorption.
Before you start filming, take a moment to do a quick "noise audit." Just sit in silence for a minute and listen. You'll be amazed at the subtle sounds you normally don't notice.
That low hum from the fridge, the faint buzz of a light fitting, or the whir of your laptop's fan might seem quiet to you, but your microphone will pick them all up. Unplug and switch off anything you possibly can.
Taming the Great Outdoors
Shooting outside brings its own unique audio headaches, from blustery wind to constant traffic. Here in the UK, traffic is a major culprit. In fact, UK Health Security Agency mapping revealed that around 40% of adults in England are exposed to long-term road traffic noise loud enough to cause health issues. This is precisely why you need a plan when filming outdoors. For a deeper dive into the scale of environmental noise, the European Environment Agency has some extensive research available at https://www.eea.europa.eu/en/analysis/publications/environmental-noise-in-europe-2025.
If you're recording outside, a microphone windshield—often called a "deadcat"—is absolutely essential. That fluffy cover is designed to break up gusts of wind before they hit the microphone, preventing that horrible booming distortion.
Your timing matters, too. Try to avoid filming during rush hour or when there's nearby construction work. When you can, use your body or natural barriers like a wall to shield your microphone from the wind. Getting into these simple habits means you're not just capturing audio; you're actively engineering a clean soundscape right from the very start.
How to Use AI to Tame Background Noise
So, you’ve done everything you can on location to get clean audio. Now it’s time to bring in the heavy hitters: the AI audio tools. These modern marvels are astonishingly good at isolating and zapping unwanted sounds with a precision that, not too long ago, you could only find in a high-end sound studio. This isn’t about just slapping a generic filter on your audio; it’s about intelligent, surgical sound cleaning.
Tools like SoReel don't just crudely turn down the volume on background distractions. Instead, their algorithms get to work analysing the unique fingerprint of your voice. They learn to tell the difference between you and the low hum of your air con or the sudden roar of a passing bus. This lets the AI surgically remove the noise while leaving the natural, human quality of your dialogue intact.
Getting started is usually pretty straightforward. You just drop your video clip into the tool and let the AI do its initial pass, automatically identifying and separating the different sounds in your track.
The infographic below really nails the proactive mindset you should have, thinking about noise reduction long before you even touch any software.
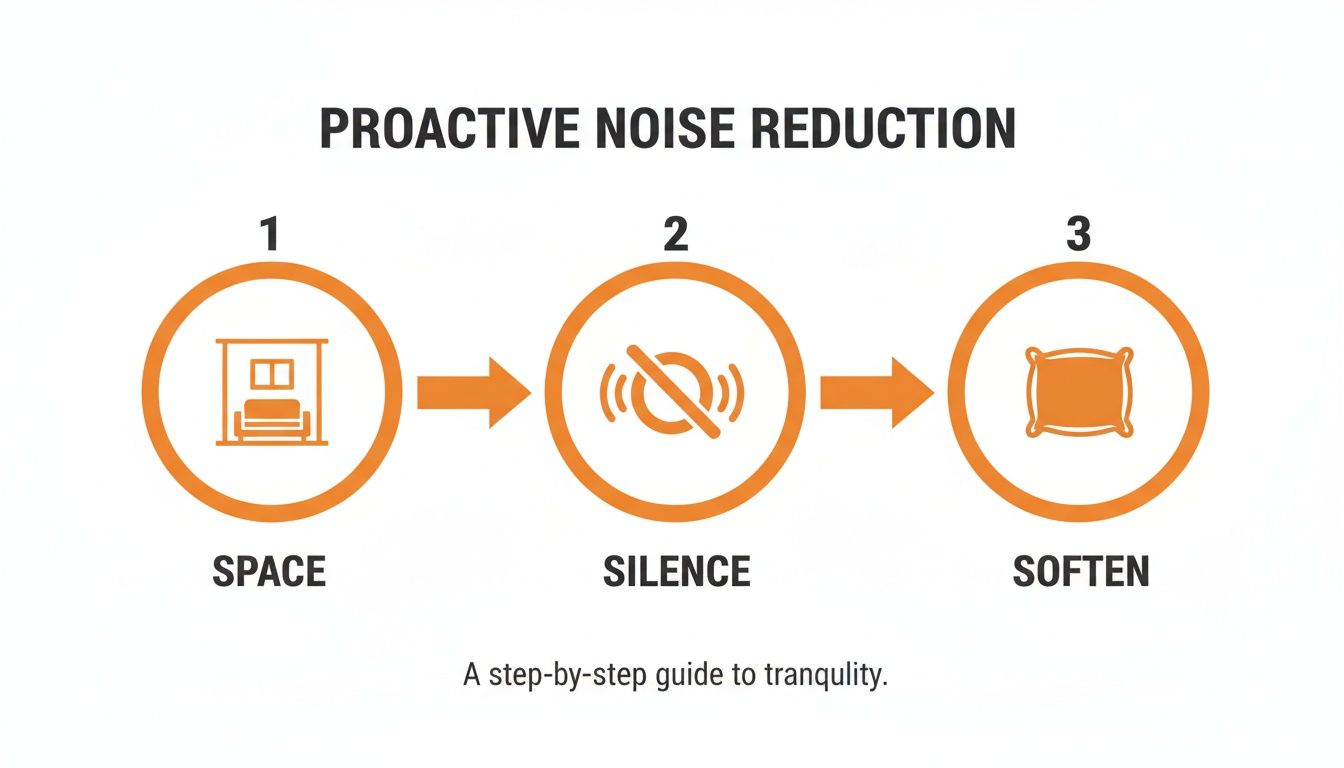
As you can see, prepping your space, killing appliance noise, and adding soft surfaces gives the AI a much cleaner plate to work from. Better input always means better output.
Dialling in the Perfect Settings
The real magic happens when you start playing with the enhancement settings. Forget being overwhelmed by a dozen complicated controls; most modern tools give you simple, intuitive sliders for noise reduction and vocal enhancement. The secret is to make small, gradual changes and trust your ears.
Let's say you recorded a vlog at the beach, and the wind is swallowing your words. You'd start by slowly nudging up the noise reduction slider. As you do, you’ll hear that whooshing wind noise begin to melt away, leaving your voice front and centre. A word of caution: don't just crank it to 100%. Pushing it too far can sometimes give your voice a slightly weird, robotic tinge.
Here's a pro tip I swear by: find a short bit of your audio where you aren't talking and loop it. Adjust the noise reduction until that section is pure silence. This way, you've perfectly cancelled out the room tone without accidentally messing with your dialogue.
Bringing Your Voice Forward
Once the nasty background noise is gone, you can shift your focus to making your voice shine. This is where vocal enhancement or "voice clarity" settings are your best friend. This feature is an absolute game-changer for anyone recording on a phone or with a built-in camera mic, which often makes you sound a bit thin and distant.
Imagine you've filmed a fantastic room tour, but your voice sounds echoey. A little boost to the vocal enhancement will bring your voice right forward in the mix, adding the kind of crispness and presence that makes people lean in and listen. It works by intelligently boosting the specific frequencies of human speech, ensuring your message isn't just heard, but fully understood.
To help you get started, I've put together a quick reference table for some of the most common audio headaches creators face.
Common Noise Problems and Recommended AI Settings
This table is a great starting point for matching your specific noise issue with the right AI settings. Remember to always use these as a guide and adjust based on what sounds best for your particular clip.
| Noise Type | Description | Recommended AI Starting Point | Key Tip |
|---|---|---|---|
| Steady Hum | The consistent drone from fans, fridges, or air conditioning units. | Start with a moderate Noise Reduction setting (around 40-50%). | Listen for any "warbling" or watery sound in the voice and dial it back if you hear it. |
| Wind Noise | That low-frequency rumble you get when recording outdoors. | Go for a higher Noise Reduction setting (maybe 60-75%). | Pair it with a touch of Vocal Enhancement to bring back any clarity the wind stole. |
| Room Echo | Your voice sounds distant and bounces off hard surfaces. | Focus primarily on Vocal Enhancement, with very little Noise Reduction. | The best long-term fix is treating your room with soft furnishings before you record. |
| Crowd Chatter | The indistinct murmur of people talking in the background. | This requires a careful balance of Noise Reduction and Vocal Enhancement. | Your goal isn't total silence, but making your voice punch through the chatter. |
Ultimately, the goal is to find that sweet spot where the audio sounds clean but still feels completely natural. It’s an art, not just a science.
By combining these AI-driven tools with a bit of know-how, you can rescue footage that you might have previously written off as unusable. If you run into specific issues or want to dig deeper into how these features work, the SoReel FAQ section is a great resource to check out.
Final Touches: From Clean Audio to Polished Content
The AI has done its job, and the background hum is gone. Great. But this is where the real craft comes in, turning that clean audio into something genuinely professional that keeps people watching. These final tweaks are what separate the good from the great, ensuring your audio isn't just audible, but actually enjoyable to listen to.
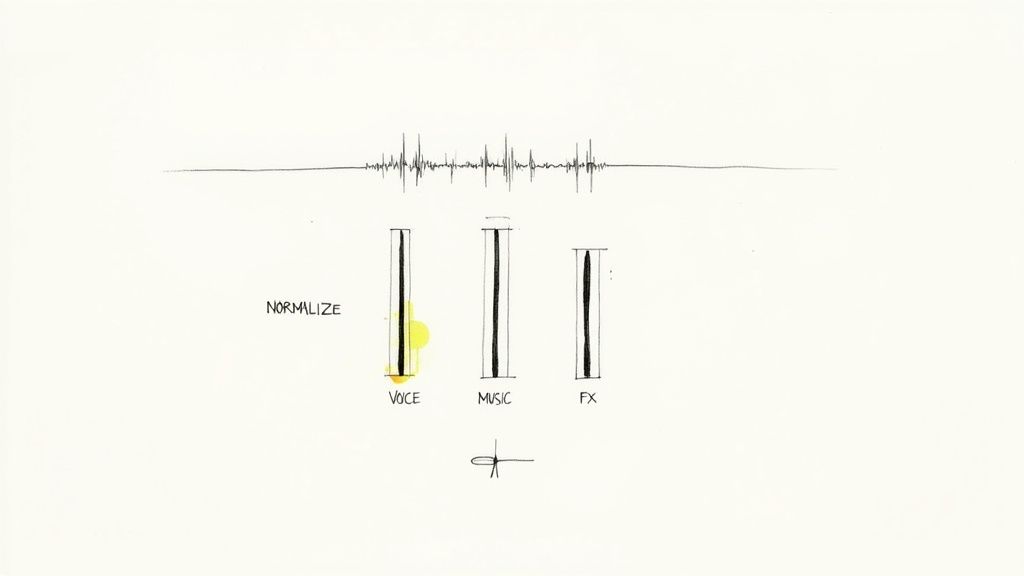
First up, and this is non-negotiable, is volume normalisation. We’ve all been there, scrolling through TikTok or Reels. One video is so quiet you can barely hear it, and the next one absolutely blasts your eardrums. It’s an instant turn-off. Normalisation prevents this by setting your entire video’s audio to a standard, consistent level. Your audience won’t have to keep reaching for the volume buttons, which means they’re more likely to stick around.
Getting the Audio Mix Just Right
Once your main dialogue is at a steady level, it's time to bring in your other audio elements—background music, sound effects, you name it. A classic rookie mistake is letting the music drown out the speaker. You've got to make sure your voice is the star of the show.
Here’s a practical way to think about it:
- Background Music: This should create a vibe, not steal the spotlight. I usually aim to set my music track around 18-20 decibels (dB) lower than my voice. It adds energy without making the dialogue hard to follow.
- Sound Effects: These are for emphasis. They can pop a bit louder to land a joke or highlight an action, but they need to get out of the way quickly so they don't trample over your next words.
The goal is to create a complete audio experience where every sound has a purpose. Your voice should always lead, with music and effects as the supporting cast. Pro tip: always check your mix on different devices. Listen with your good headphones, then listen through your phone’s tiny speaker. It has to sound balanced on both.
Adding a Little Sparkle with EQ
Let’s talk about a simple but incredibly effective tool: the equaliser (EQ). Sometimes, even after the AI has cleaned things up, a voice can lack a bit of life or sound a little 'muddy'. This is where a little EQ can work wonders, and you don’t need to be a professional audio engineer to use it.
Most editing apps have basic EQ controls. If your voice sounds a bit muffled, try giving the higher frequencies (treble) a gentle boost. This adds crispness and makes every word sound clearer. On the flip side, if the recording sounds a bit boomy or hollow, try cutting some of the low-mid frequencies to remove that muddy quality. It’s amazing how these tiny adjustments can add a final layer of polish, making your voice sound rich, present, and professional.
Scaling Your Workflow for High-Volume Content
If you're a creator or social media manager pushing out a dozen clips a week, you know that efficiency is everything. Manually fiddling with audio settings for every single video is a serious time-sink. This is exactly why a smart, scalable workflow is so critical—it lets you eliminate background noise consistently without getting bogged down in the editor.
The secret here is batch processing. Think about it: if you've shot a bunch of videos in the same place, like a series of product demos in your office or a few vlogs in your home studio, the background noise is going to be pretty much the same in every clip. So, instead of treating each video as a brand new project, you can apply one optimised noise-reduction preset across the entire lot.
Automating Your Audio Cleanup
This is where modern AI tools really shine. With a platform like SoReel, for example, you can upload multiple files at once and let the AI apply the same audio enhancements to all of them. This gives every video in your series a consistent level of vocal clarity and background silence, making your whole channel feel more polished and professional.
This approach completely changes the game for anyone dealing with a high volume of content. By automating the repetitive bits of audio editing, you get that time back to focus on what really matters: your creative strategy and making great content. For those with really large-scale needs, you can check out the different plans and even API access by exploring SoReel's pricing options.
Nailing Your Export Settings
Once you've got that clean audio, the final hurdle is exporting your video correctly for platforms like TikTok and Instagram. It's a crucial step because getting it wrong can ruin all your hard work. Their compression algorithms can be pretty aggressive and might reintroduce unwanted noise or just make your great audio sound flat.
For the best results on social media, always stick to the AAC (Advanced Audio Coding) format. It’s the perfect sweet spot between quality and file size, which is exactly what these platforms are built to handle. I'd recommend aiming for an audio bitrate somewhere between 128-192 kbps to keep the clarity without bloating your file.
Getting this right stops the platform from squashing your sound, ensuring your voice comes through crisp and clear. This is especially important if you're recording anywhere with ambient noise. It's a bigger problem than you might think; a recent study of London's greenspaces found that 28% of them exceed WHO noise guidelines, with levels hitting as high as 74 dB. It just goes to show how much background noise we're constantly fighting against in our daily lives.
Got Questions About Cleaning Up Your Video Audio?
Even with the best tools, you'll inevitably hit a few snags when you're trying to get that perfectly clean sound. Let’s walk through some of the most common issues creators run into and how to solve them.
One of the biggest mistakes I see is overdoing the noise reduction. It’s so tempting to just crank that slider all the way to 100%, but that often backfires. It can strip the life right out of your voice, leaving it sounding thin, robotic, and just as distracting as the original noise. Remember, the goal is clarity, not a sterile, dead silence.
Here's a pro tip: Find a short segment of your recording where it's only the background noise—no talking. Loop that section and gradually increase the noise reduction until the hum or buzz just vanishes. This sweet spot removes the bad stuff without damaging the good.
Another common puzzle is dealing with different types of noise. A steady, low hum from your air conditioning unit is a completely different beast than a dog suddenly barking in the next room.
How to Handle Different Kinds of Noise
You'll need to adapt your approach based on what you're trying to remove.
- For consistent, steady sounds like fan noise or an electrical hum, a good AI noise reduction tool is your best friend. It excels at identifying that constant frequency and cleanly removing it from the track.
- For sudden, sharp sounds like a cough, a door slam, or a car horn, the AI might not catch it perfectly. In these cases, your best bet is often to go in manually and carefully cut out that tiny slice of the audio.
This is exactly why you can't just rely on the software to do all the work. The AI does the heavy lifting, but your own ears are the final quality check. Always listen back carefully.
What if My Audio Is a Complete Mess?
So, can you rescue audio that's truly terrible? Honestly, sometimes there’s a point of no return.
If the background noise is actually louder than your voice, there’s not much even the most sophisticated AI can do. It's like trying to take the salt out of soup after you've already stirred it in—the elements are just too mixed together. This really drives home why getting it right during the recording phase is so crucial.
It's not just creators who are fed up with unwanted noise. There's a wider societal push for quieter spaces. A 2025 review in the UK found that a staggering 69% of people want stronger measures against noisy vehicles, and 54% of city dwellers believe their environment has gotten louder in the last five years. You can read more about the public's take on noise enforcement on the ITS UK website. This desire for less intrusive sound is exactly what we’re aiming for in our videos.
Ready to get that crisp, professional sound for your own videos? SoReel uses AI to make background noise a thing of the past. Give it a try and hear the difference it makes at https://soreel.app.